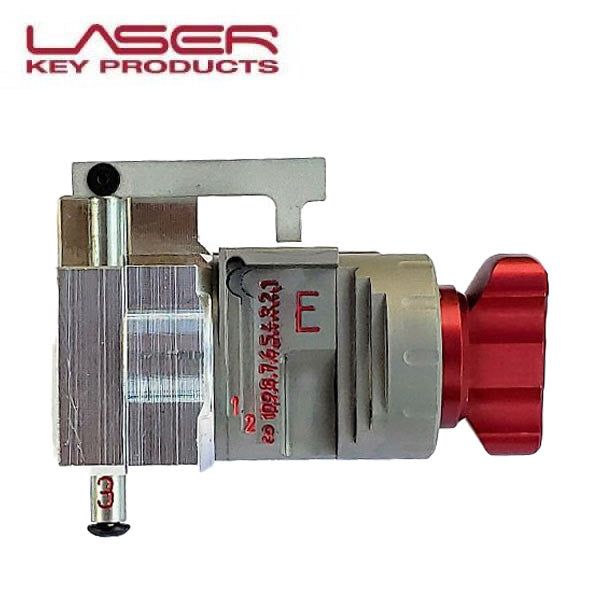
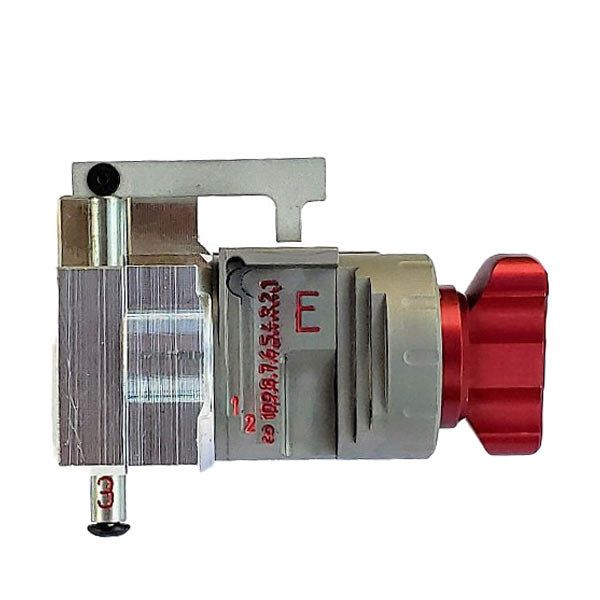
Laser Key Products - LKP2010 - Rotating Engraving Jaw - 3D PRO Xtreme / Elite / Pro
Laser Key Products - LKP2010 - Rotating Engraving Jaw - 3D PRO Xtreme / Elite / Pro
Laser Key Products
Couldn't load pickup availability
SLK-LKP-LKP2010
Item Number: 8896
Laser Key Products proudly introduces the new Engraving Jaw for Elite, Xtreme, and Pro models. Purchase will include two free logo templates that will make engraving your company logo take seconds. Master keying systems manually are a thing of the past! Marketing on Social Media is the future, and this will do both. Font characters are engraved in both lower case and upper-case fonts at 3/16” and 1/4” font size. The amount of characters the user can engrave varies depending on the width of the key blank the user is engraving.
But wait! There’s more! Jaw 4 is also a feature that enables users to utilize the opposite side of the Engraving Jaw by rotating the jaw. The Jaw 4 enables Key-Machine Users to mill off the heads of mechanical key blanks and transform them into blades for flip remotes! Currently Jaw 4 only supports the milling profiles of KD900 and VVDI flip remote blades, but there will be more implemented in the future!
More Information Below:
| Type: | Rotating Engraving Jaw |
| Function: |
Engrave 3/16" 1/4" font size |
| Applicable Machines: | 3D Pro Xtreme / 3D Pro Elite / Pro X & XL |
| Part Number: | LKP2010 |
Engraving Instructions
First, Select a Key to Engrave and Install the Engraving Jaw
Connect to the “Desktop” version of Key Machine Software.
Second, go to “Operations” > “Engraving”
Third, “Line 1:” and “Line 2:” are where you enter the text you want to engrave.
If you see a zero entered for “Line 2 Y Pos:” then that key only supports one line of text (Line 1).
If you see a zero for both Line 1 and 2 positions then you need to enter you own engraving location.
Most common keys will already have information pre-entered.
(Figure 1: enter text, Figure 2: click Engrave)
Fourth, Enter the text to engrave into the one or both of the lines and click “Engrave”.
Each of the two Lines are separated into three parts to enable “Progressive Engraving”
If you select a key and see that both “Line 1 Y Pos:” and “Line 2 Y Pos:” at the top right of the Engraving window are set to “0” Then you will have to use the numbers found on the Engraving Jaw.
Enter Engraving Location from number on Engraving Jaw
How to find the “Y Position” location for the text to engrave on the key and finding Key Head Width:
Many keys will already have the Engraving Location and Head Width set on “Line 1 Y Pos:” and “Line 2 Y Pos:”
but if you select a key, and “Line 1 Y Pos:” and “Line 2 Y Pos:” are both set to Zero, then use these instructions.
Find the Line Y Positions by using the numbers on the Engraving Jaw. These numbers indicate thousandths of an inch (1 = 100, 10 = 1000). Below is an example of a Ford key clamped into the Engraving jaw on Step 3 that does not have the engraving location filled into the “Line 1 Y Pos:” and “Line 2 Y Pos:” at the top right of the engraving software window:
According to the arrows for Line 1 and Line 2
we would enter the following:
Measure Key Head
After you are finished entering the Y Position locations, you can either measure with calipers how wide the key head is and enter that into the “Key Head Width” number box, or, with the key head still clamped you can barely open the Engraving Jaw and remove the key head while leaving the Jaw opened the amount as if the key head were still clamped, leave the jaw empty, lower the Tracer, choose which step the key was on before you removed it and click the “Measure Key Head” button.
The Tracer will touch the Engraving Jaw in several locations and enter the result into the “Key Head Width”
When doing a “Measure Key Head”, it always measures in the 1 step, and then calculates from there if you choose 2 or 3 step.


